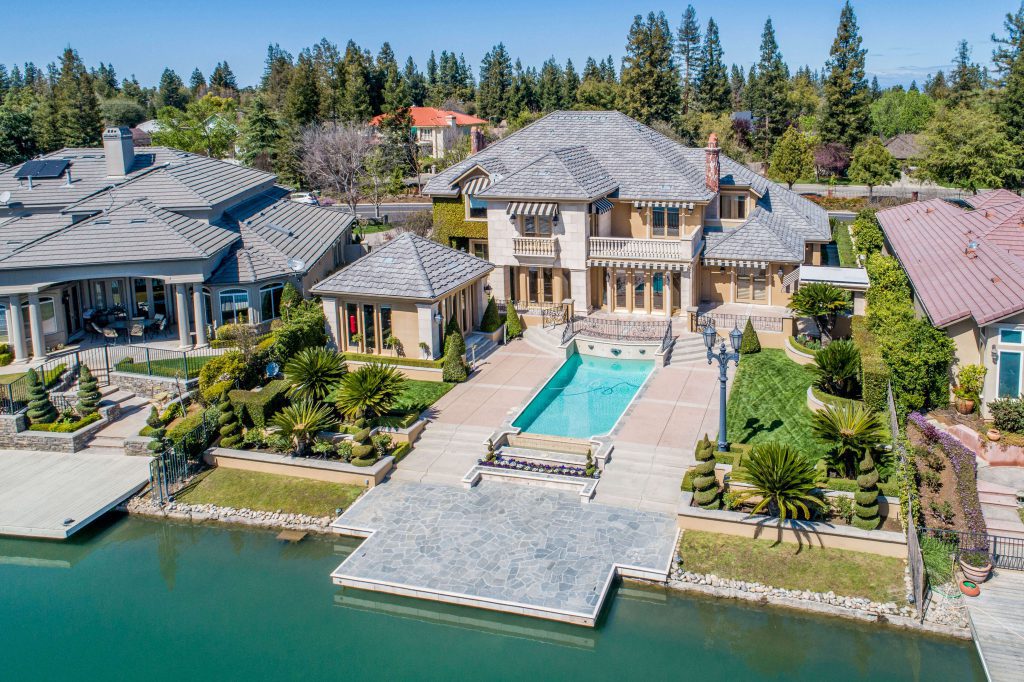
How To Take Real Estate Photos Professionally

Taking real estate photos effectively involves planning, technical skills, and a creative eye. By following best practices and understanding the nuances of real estate photography, you can capture images that attract buyers and showcase properties in their best light.
Real estate photography is about more than snapping pictures—it’s about telling a story. Stunning property images can boost interest and generate faster sales. To achieve this, you need to focus on timing, equipment, and composition. Here’s a step-by-step guide to capturing professional-grade real estate photos.
Key Takeaways:
- Schedule your shoot during optimal lighting conditions, such as golden hours.
- Use the right equipment, including wide-angle lenses and tripods.
- Apply composition techniques like the rule of thirds and proper framing.
- Stage and clean the property for a polished look.
- Enhance your images through thoughtful post-processing.
Planning Your Shoot
Schedule for Optimal Lighting
The quality of light can make or break a real estate photo. Natural light, particularly during the golden hours—early morning or late afternoon—adds warmth and depth to your images.
- Golden Hours: Soft, diffused sunlight minimizes harsh shadows and enhances interiors and exteriors.
- Exterior Shots: Consider the sun’s position. Shooting when the sun is behind the house can result in evenly lit façades.
Create a Shot List
A shot list ensures no detail is overlooked.
- Room Priorities: List key areas like living rooms, kitchens, and master bedrooms.
- Detail Shots: Include features such as fireplaces, built-in shelving, or outdoor patios.
Equipment Essentials
Use the Right Lenses
Choosing the correct lens is critical to achieving professional results.
- Wide-Angle Lens: A 16-35mm lens captures expansive room views and minimizes distortion.
- Tilt-Shift Lens: Perfect for high-end properties, this lens corrects perspective issues and ensures architectural lines remain straight.
Utilize a Tripod
A tripod stabilizes your camera and maintains consistent framing.
- Low-Light Conditions: Reduces blur from hand movement.
- Consistent Angles: Ensures uniformity in shots across different rooms.
Composition Techniques
Frame Your Shots Well
Composition determines the visual appeal of your photos.
- Rule of Thirds: Divide the frame into thirds and place key elements along these lines.
- Natural Frames: Use doorways or windows to add depth and focus.
Get Your Camera Height Right
Shooting at the wrong height can distort the room’s proportions.
- Standard Height: Aim for doorknob or chest level.
- Experimentation: Adjust heights for unique perspectives in specific rooms.
Enhancing Your Photos
Turn On Lights
Lighting sets the mood and highlights property features.
- Interior Lights: Use all available lights to create a warm ambiance.
- Exterior Lighting: Showcase outdoor fixtures during dusk or dawn for a welcoming feel.
Clean and Stage the Property
A tidy, well-staged home is more appealing to potential buyers.
- Declutter: Remove personal items and unnecessary objects.
- Professional Staging: Consider hiring experts for an elevated presentation.
Post-Processing
Edit for Perfection
Post-processing transforms good images into great ones.
- Software Tools: Use Lightroom or Photoshop for adjustments.
- Corrections: Fix lens distortion, adjust colors, and balance light sources.
FAQs
Why are golden hours ideal for real estate photography?
Golden hours provide soft, natural light that reduces harsh shadows and highlights property features.
What’s the best lens for real estate photography?
A wide-angle lens, such as 16-35mm, is ideal for capturing spacious room views.
How do I stage a property effectively?
Focus on decluttering, cleaning, and arranging furniture to showcase the space’s potential. Adding decorative touches can also enhance appeal.
Capturing Stunning Real Estate Photos
Capturing stunning real estate photos involves a mix of planning, technical skill, and creative vision. By following this guide, you can create images that showcase properties effectively and appeal to potential buyers. Whether you’re a seasoned photographer or a novice, these steps will help elevate your real estate photography to a professional level.
