Common Mistakes to Avoid in Real Estate Photography
Common mistakes in real estate photography include poor lighting, incorrect angles, over-editing, and neglecting key property features. Avoiding these pitfalls ensures high-quality, market-ready images that attract buyers.
As professional real estate photographers at Focus Photo, we understand that high-quality images make all the difference in selling a property. Unfortunately, even minor mistakes can diminish the impact of a listing and turn potential buyers away. By identifying and avoiding these common pitfalls, we ensure that our photos showcase properties in the best possible light.
Key Takeaways:
- Keep blinds and curtains open to maximize natural light.
- Use flash properly to avoid harsh lighting effects.
- Choose correct angles and avoid awkward cropping.
- Ensure accurate color balance and avoid unnatural tints.
- Edit appropriately—neither overdo nor neglect post-processing.
- Use a wide-angle lens for better spatial representation.
- Find the right balance in the number of photos taken.
- Clean and declutter the space before photographing.
- Adjust camera settings for optimal quality.
- Don’t ignore exterior shots—curb appeal matters.
- Maintain a consistent shooting height for accurate proportions.
Maximizing Natural Light
Keep Blinds and Curtains Open
Lighting significantly impacts the warmth and vibrancy of an image. Closed blinds and curtains create a dull and uninviting atmosphere, while natural light enhances the space. We always schedule shoots during midday to take advantage of optimal sunlight.
Flash Usage Done Right
Avoid Direct Flash
Direct flash can create harsh lighting and unnatural reflections. Instead, we bounce the flash off ceilings or walls to diffuse the light and achieve a soft, natural look.
Capturing the Right Angles
Maintain Perspective
The wrong angles can make rooms appear smaller or hide important details. By carefully positioning our camera, we ensure a balanced composition that captures the space’s full potential.
Avoid Over-Cropping
Cropping out key features can misrepresent the space and disrupt visual harmony. We take extra care to maintain proportionality while framing shots.
Color Accuracy Matters
Adjust White Balance Correctly
Incorrect white balance can result in color casts that make rooms appear too yellow, blue, or green. We always calibrate our settings based on the lighting conditions in each room to ensure natural and appealing tones.
Finding the Right Editing Balance
Avoid Over-Editing
Over-processed images can look artificial and deter buyers. On the flip side, under-edited images may fail to highlight the best features of a property. We focus on a natural, polished look that enhances without misrepresenting.
The Importance of a Wide-Angle Lens
Capture More of the Space
A wide-angle lens allows us to capture an expansive view of a room, making it look more open and inviting. This is particularly useful for smaller or tighter spaces.
Selecting the Right Number of Photos
Provide a Balanced Selection
Too many photos can overwhelm viewers, while too few may not give enough context. We ensure that our photo selection showcases all essential aspects of the property without redundancy.
Preparing the Property for the Shoot
Clean and Declutter
A messy or cluttered space detracts from the home’s appeal. We recommend thorough cleaning and minimal staging to create an inviting atmosphere.
Dialing in Camera Settings
Optimize for the Environment
We adjust white balance, aperture, and ISO to match the room’s lighting and layout, ensuring the highest image quality.
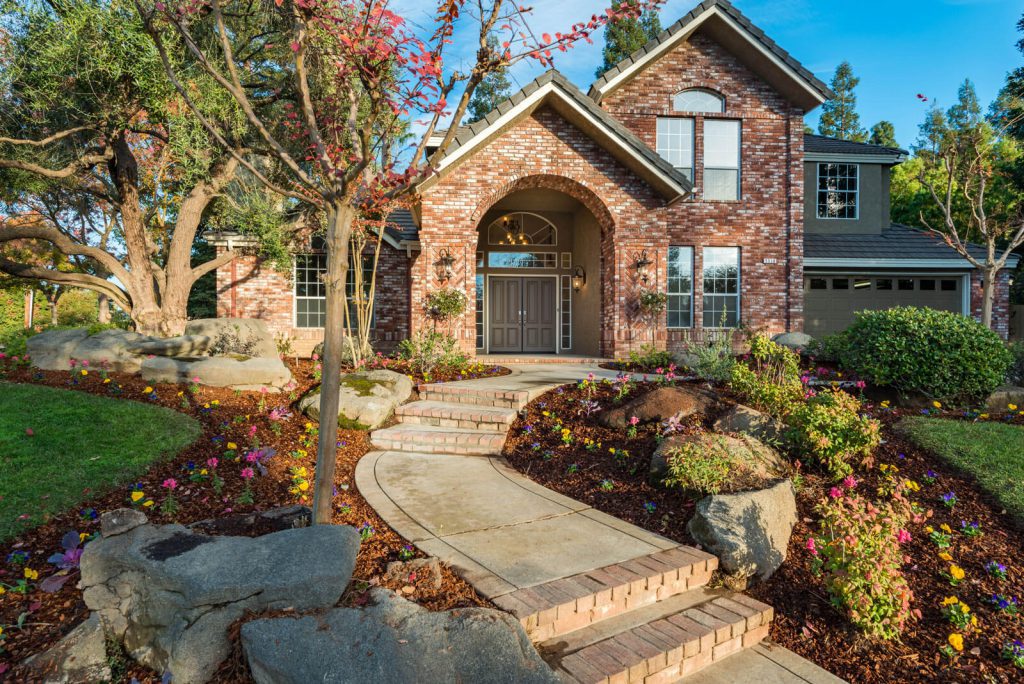
Don’t Forget the Exterior
Capture Curb Appeal
First impressions matter, and the exterior sets the stage for what’s inside. We always capture front yard views, driveways, and landscaping to highlight the home’s overall appeal.
Consider Aerial Shots
Drone photography provides a unique perspective, giving potential buyers a complete view of the property and its surroundings.
Shooting at the Right Height
Maintain a Consistent Level
Aiming the camera too high can distort dimensions, while shooting too low can make rooms feel cramped. We maintain an ideal height of around 5 feet for balanced, realistic images.
Additional Tips for Success
- Use a tripod for stability and precision.
- Ensure straight lines in composition to avoid distortion.
- Pay attention to reflections in mirrors and windows.
- Take test shots to verify settings before completing the shoot.
Frequently Asked Questions
How many photos should a real estate listing have?
A well-balanced listing typically includes 20-30 high-quality images covering all key spaces and exterior shots.
What is the best time of day to shoot real estate photos?
Midday provides the best natural lighting, but golden hour (early morning or late afternoon) can also add warmth and charm to exterior shots.
Can I edit real estate photos myself?
While basic edits can be done independently, professional editing ensures consistency, color accuracy, and optimal presentation.
Should I use HDR photography for real estate?
Yes, HDR helps balance exposure in high-contrast environments, ensuring that both bright windows and darker interiors appear well-lit.
Elevate Your Real Estate Photography with Focus Photo
Avoiding these common mistakes ensures that real estate listings look professional, inviting, and market-ready. At Focus Photo, we bring expertise, attention to detail, and high-quality photography to every property we shoot. Let us help you showcase your listings in the best possible light!